TL;DR
This guide shows you how to set up and use a crypto hardware wallet, using the Trezor Safe 3 as an example. You’ll learn to safely store Bitcoin, Ethereum and other assets offline, with clear steps for wallet setup, seed phrase backup, PIN protection and secure transaction signing. The article also explains how to connect your hardware wallet to MetaMask for use with DeFi platforms and NFTs – all while keeping your private keys offline. Whether you’re comparing the best hardware wallets in 2025 or need a crypto wallet tutorial for receiving and sending funds, this guide has you covered with actionable tips and best practices for long-term cold storage security.
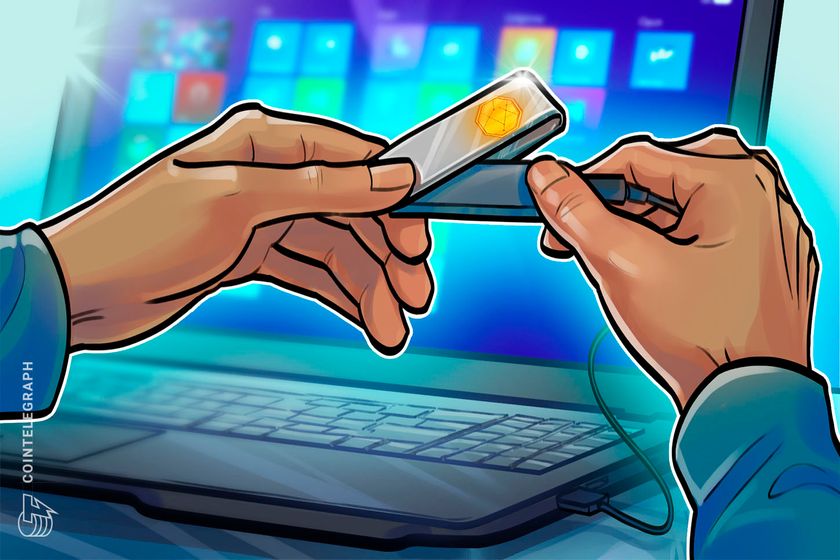
If you’re ready to take crypto wallet security seriously, using a hardware wallet is one of the best steps you can take.
You may already be aware of its advantages over a software wallet: keeping your private keys offline, minimizing exposure to malware and giving you full ownership of your crypto assets. Maybe you’ve even picked out your device.
The good news? While there are several options out there, from Ledger to Trezor to newer multichain hardware wallets, the basic experience is similar. This hardware wallet setup guide will walk you through unboxing, verifying the device, securing your PIN and backing up your seed phrase.

For illustration purposes, this article uses the Trezor Safe 3, an ideal device for beginners but powerful enough for advanced users. It’s also a great choice if you want to use a hardware wallet for DeFi or connect your hardware wallet to MetaMask.
Let’s get into it.
Unboxing your crypto cold wallet
Before you begin setup, here’s what comes with a typical hardware wallet, in this case, the Trezor Safe 3. This applies to most of the best hardware wallets in 2025.
What’s in the box:
-
Trezor Safe 3 device with tamper-evident seal.
-
USB-C cable.
-
Two recovery seed cards (for your wallet backup).
-
Quick start guide.
-
Trezor stickers.
First steps: Inspect and verify
Before plugging anything in, check for:
-
Sealed, undamaged packaging.
-
Intact holographic sticker over the USB port.
This ensures your device hasn’t been tampered with, a crucial crypto wallet security tip. Newer devices (post-April 2024) have upgraded seals for added air-gapped security.
If anything looks suspicious, contact Trezor support.
Power it up
Peel the sticker and connect via USB — the Safe 3 powers on automatically, and no battery or power button is needed.
You’ll notice a small screen and two physical buttons. These are how you’ll confirm actions, approve transactions and manage your crypto.
Let’s begin the setup.
Hardware wallet setup: Trezor Safe 3
Getting started takes about 10–15 minutes. For this crypto hardware wallet tutorial, just have your computer ready and a pen handy. You’ll soon need to write down something very important.
Step 1: Download Trezor Suite
Go to the official Trezor site and download the Trezor Suite app. It’s available on Windows, macOS, Linux and via web browser.
Open it, plug in your device and follow the prompts. Click “Set up my Trezor.”
Step 2: Install firmware
Your device may not come with firmware pre-installed. Click “Install Firmware.” This is part of the crypto wallet recovery process and ensures a secure, clean slate.
Step 3: Verify device authenticity
Click “Let’s check your device” in Trezor Suite. Press the right button on your Safe 3 to authenticate. You’ll see a message confirming the device is verified.
Step 4: Quick tutorial
The device might walk you through button usage. Just follow along, it’s a one-time setup.
Step 5: Create a new wallet
You’ll see two options:
-
Create new wallet (choose this if it’s your first time).
-
Recover wallet (for restoring, using your seed phrase).

Step 6: Backup method
You’ll choose between:
-
Standard seed backup (easiest and most common).
-
Shamir backup (advanced; splits the seed into parts).
Stick with standard, unless you’re sure you know what you’re doing.
Step 7: Confirm on device
Use the buttons to confirm your backup method and agree to terms. Press “Create wallet” to proceed.

Step 8: Write down your recovery seed
This is the heart of your cold storage for crypto. The device will generate a random list of 12, 20 or 24 words, your recovery seed.
Trezor will remind you not to take photos or digital notes of the seed. Write it down on the provided card and store your crypto seed phrase safely. This is critical for future recovery.
Step 9: Confirm the seed
You’ll be tested on a few of the words (e.g., “What’s word #5?”). Select the correct ones using the buttons. Once confirmed, your backup is complete.
Pro tip: Make a second copy of your seed and store it in a different secure location. This adds an extra layer of protection.
Step 10: Set up a PIN
Now, create your hardware wallet PIN. In Trezor Suite, click “Set PIN.” The device will prompt you with a randomized layout. Use the buttons to choose your digits.
PINs can be up to 50 digits long. Choose something memorable, but not obvious. If forgotten, you’ll need to wipe the wallet and recover with the seed phrase.

Step 11: Enable coins and final setup
You’ll now choose which coins to enable, Bitcoin (BTC), Ether (ETH) and more. This step also prepares your wallet for use with DApps or storing Bitcoin in a hardware wallet.
After clicking “Complete Setup,” you can name your device or customize the home screen. Then hit “Access Suite” to open your dashboard.
If you’ve been following along on your own device, you’ve just completed your first hardware wallet setup and taken a major step toward storing crypto safely!
Receiving crypto with a hardware wallet
Once your device is set up, you’re ready to store crypto safely by receiving funds into your wallet. Here’s how to accept crypto securely with your Trezor hardware wallet.
1. Open the correct account
In Trezor Suite, choose the account for the crypto you want to receive (e.g., Bitcoin #1 or Ether #1). Click the “Receive” tab to generate a crypto cold wallet address.
2. Show and confirm the address
Click “Show full address” in the app. Your Trezor will display the full address on its screen. Always confirm the address on the hardware wallet itself, not just in your browser. This ensures it hasn’t been altered by malware on your computer (a standard crypto wallet security tip).
3. Use the address
Copy the address or scan the QR code to send crypto. Your Trezor doesn’t need to stay connected; the blockchain will receive the funds and update your balance next time you plug the wallet in.
Pro tips for safe receiving:
-
Confirm addresses on your device, not just your screen.
-
Use a fresh address each time for added privacy (Trezor Suite supports this).
-
If the address doesn’t match between your wallet and app, stop immediately.
Sending crypto from a hardware wallet
Sending crypto with a hardware wallet means your private key stays offline, even while broadcasting a transaction. Here’s how to do it securely:
1. Select the correct account
In the Trezor Suite, go to the account holding the asset you want to send. Click “Send.”
2. Fill in transaction details
Enter the recipient’s wallet address and the amount to send. You can also toggle to fiat view if needed. Double-check the recipient address to avoid mistakes.
3. Choose a Fee
-
For Bitcoin, you can select from fee levels: Low, Standard or High.
-
For Ether or ERC-20 tokens, Trezor Suite estimates gas fees automatically.
4. Confirm on the device
Click “Review & Send.” Your Trezor will display the transaction details:
-
Destination address.
-
Amount.
-
Network fee.
Only approve the transaction if everything checks out. This is how you protect yourself from clipboard malware.

5. Done, signed transaction is now sent!
Your signed transaction has now been sent, with zero exposure of your private key. You’ll see the confirmation in your history.
More pro tips:
-
If your Trezor asks to sign a transaction you didn’t initiate, cancel immediately.
-
Make sure your ETH balance is sufficient to cover gas for token transfers.
-
For advanced users: Trezor also supports air-gapped security setups using microSD backups.
Using a hardware wallet with MetaMask and DApps
Want to use your hardware wallet for DeFi or NFTs while keeping your keys secure? Trezor Safe 3 integrates seamlessly with MetaMask, making it easy to use DApps and sign transactions safely.
1. Connect Trezor to MetaMask
Open MetaMask in your browser. Click your account icon and choose “Connect Hardware Wallet.” Select Trezor when prompted.

2. Plug in your Trezor
If not already connected, plug in the device. MetaMask may prompt you to install Trezor Bridge, a utility that enables communication with the wallet.
You’ll be asked to approve the reading of your public key from the hardware wallet. This is safe and doesn’t reveal private keys.
3. Select a wallet address
MetaMask will list your Trezor-linked Ethereum addresses. Choose one (e.g., Ethereum #1) and click “Unlock.” The wallet will now appear in MetaMask, marked as a hardware wallet.
How it works
From now on, every time you make a transaction, whether it’s swapping tokens on Uniswap or minting an NFT, you will:
-
Initiate the transaction in MetaMask.
-
See the details appear on your Trezor screen.
-
Physically confirm the transaction using your device buttons.
This flow ensures that even if your browser is compromised, the final transaction approval happens on your trusted hardware wallet.
Final safety tip: Your hardware wallet screen is the most trustworthy place to verify transaction details. Never rely solely on what you see in the browser.
Why hardware wallets matter in 2025
Whether you’re storing Bitcoin, using DeFi protocols or exploring NFTs, hardware wallets remain the gold standard for crypto security. With cold storage for crypto, recovery tools like seed phrases and integration with platforms like MetaMask offer powerful protection with ease of use.
If the Trezor Safe 3 feels like a good fit, it’s available at a discount via the provided link, a smart first step into secure, self-custodied crypto.
Still weighing your options? Explore the updated 2025 guide to the best hardware wallets. It covers Ledger setup, Trezor guides, and more, including advanced models for multichain use, long-term backups and offline storage.
Disclaimer. Cointelegraph does not endorse any content or product on this page. While we have striven to provide all the essential information available in this article, please note that it contains affiliate links. Readers are encouraged to conduct their own research before making any decisions related to the company. This article should not be considered investment advice.
]]>
Researchers found a vulnerability in NEAR’s peer-to-peer networking protocol that could have crashed any node, but it was patched before an attacker could discover it.
]]>
To use a crypto hardware wallet, connect wallet to computer/mobile, enter PIN, follow instructions to send/receive crypto, then store safely offline for added security.
Powered by WPeMatico
]]>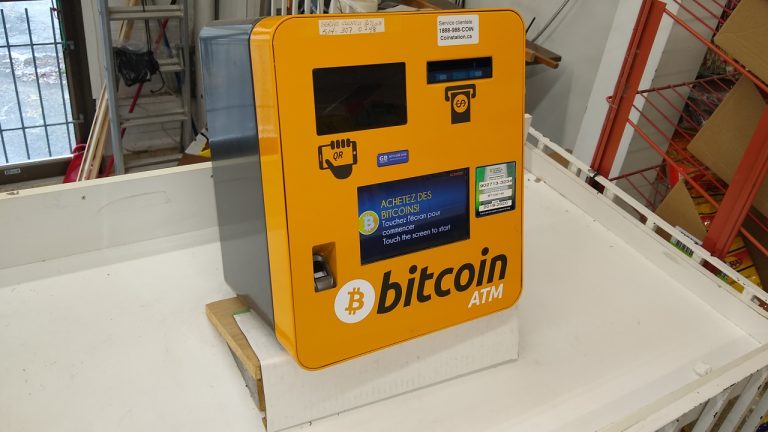 According to data from the cryptocurrency automated teller machine (ATM) aggregation website Coin ATM Radar, over 3,600 crypto ATMs went offline in March. Since the end of 2022, the number of crypto ATMs has declined by 13.91% in the last three months. Crypto ATM Numbers Decline in 2023 According to data from Coin ATM Radar, […]
Powered by WPeMatico
]]>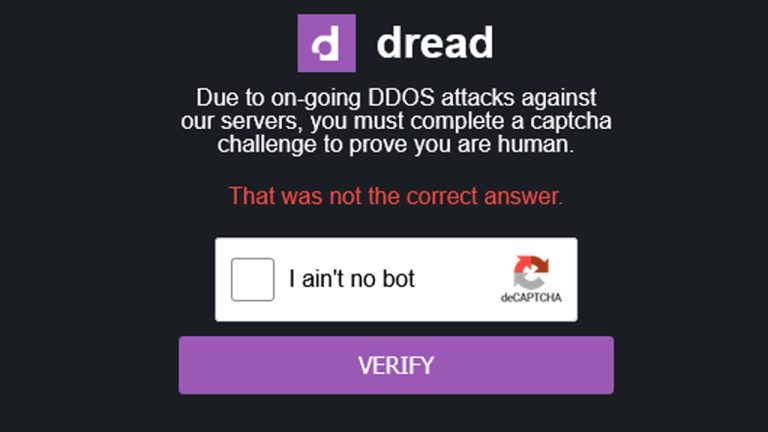 According to web portal darkdot.com and anonymous journalist Darkdotfail, the popular darknet forum Dread has been down for a month. The well-known forum, which was a place for darknet market (DNM) patrons to discuss operations security, rate specific vendors, and talk about stealth delivery ideas, has been absent for 30 days. However, the forum’s founder, […]
Powered by WPeMatico
]]>
Neither FTX CEO Sam Bankman-Fried nor any FTX official has provided its users with clarity as to why FTX’s website was taken down.
Powered by WPeMatico
]]> An increasing number of financial and crypto pyramids targeting Russian investors have been opening physical offices in the country. The Central Bank of Russia has recently expressed concern over the trend which is seen as an indication that the fraudsters expect growing demand. Russian Crypto Scams Launch Offices to Lure More Investors In-person, Bank of […]
Powered by WPeMatico
]]>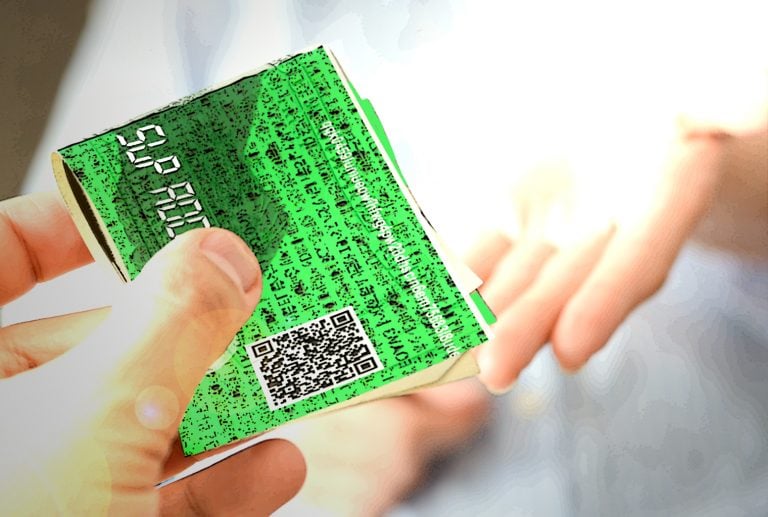 The Simple Ledger Protocol (SLP) and tokens have become a mainstay within the Bitcoin Cash ecosystem. SLP tokens have gathered traction as they are supported by multiple noncustodial wallets and a slew of tokens gained real-world value after being listed on exchanges. Even though SLP tokens are digital, you can still create a paper wallet […]
The post Cold Storage and Bearer Bonds: How to Print an SLP Token Paper Wallet appeared first on Bitcoin News.
Powered by WPeMatico
]]> In late 2019, the remnants of multi-level Ponzi scheme Onecoin crumbled. However, Onecoin’s founder, dubbed the ‘crypto queen,’ Ruja Ignatova, remains on the run and law enforcement haven’t caught up with her yet. Moreover, police are investigating two churches in New Zealand that allegedly have links to the Onecoin operation and founders. Also read: Onecoin […]
The post The Fallout From Onecoin’s Ponzi Scheme Continues to Impact Investors appeared first on Bitcoin News.
Powered by WPeMatico
]]> The MLM monitoring publication behindmlm.com revealed on Dec. 1 that the infamous Ponzi scheme Onecoin’s website onecoin.eu has gone offline. According to the domain host Eurid, the onecoin.eu domain name is currently “under legal investigation.” Onecoin’s website going offline follows the recent arrest of the operation’s cofounder Konstantin Ignatov. Also read: Part Deux! Onecoin Buyer […]
The post Onecoin Websites Suspended as the $4 Billion Ponzi Crumbles appeared first on Bitcoin News.
Powered by WPeMatico
]]>